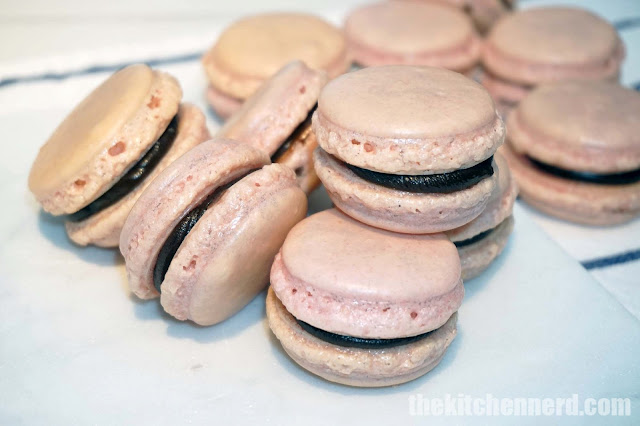
Holiday festivities and baking are not yet over. I've tried a blueberry macaron with chocolate ganache filling during a culinary school orientation. It's Christmas so why not make it red? I hardly use any food coloring but of course feel free to turn it as deep red as possible better to use gel coloring as a slight change in the ratio would actually make a lot of difference.
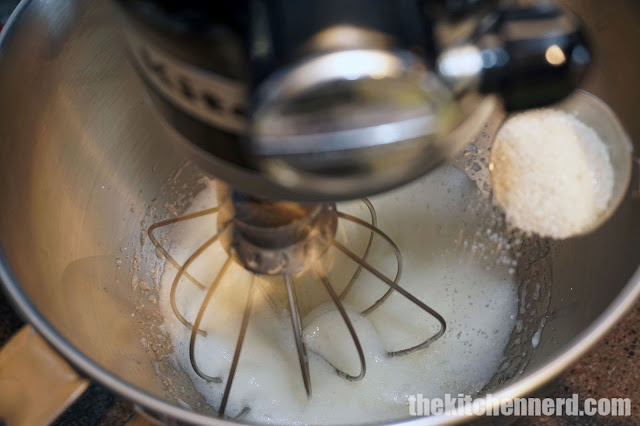
Start by combining almond flour and confectioner's sugar in food processor then pulse just until fully combined. Make the meringue by beating the 3 egg whites and salt in the stand mixer on medium speed until soft peaks form. Slowly add the 3 tbsp of sugar, 1 tbsp at a time in a slow steady stream. Once all sugar is in turn the mixer on high and continue mixing for about 3 to 4 minutes until stiff peaks form. Finally, mix in the food coloring (if adding) just until no white streaks are visible.
Gently fold in the almond flour mixture into the meringue.

Transfer the batter into a piping bag fitted with a plain tip. Pipe the batter onto a baking sheet lined with silicon mat or parchment paper and make about 1 inch cookie.
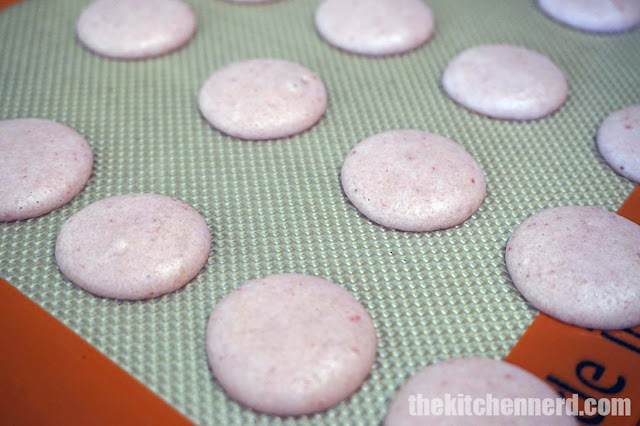
Let the macarons dry by letting it sit on the countertop at room temperature uncovered for about 30 minutes to 1 hour, depending on the weather/humidity.

While waiting for the macarons to dry up, start making the chocolate ganache filling by heating the dark chocolate and heavy cream in a double boiler (bain marie). Note: The water should just be simmering and should not touch the bottom of the bowl. Once everything's melted and incorporated, remove from heat and stir in the vanilla extract. Refrigerate for about 30 minutes just until it becomes spreadable then pipe or spread onto macaron cookies.
Once the macarons are dried up, bake at 300ºF for 28 to 30 minutes or until dry and crinkly feet have formed. Let it cool completely before removing from tray and adding filling. Once ready, pipe or spread the filling on the macaron cookie then sandwich with another.

Start by combining almond flour and confectioner's sugar in food processor then pulse just until fully combined. Make the meringue by beating the 3 egg whites and salt in the stand mixer on medium speed until soft peaks form. Slowly add the 3 tbsp of sugar, 1 tbsp at a time in a slow steady stream. Once all sugar is in turn the mixer on high and continue mixing for about 3 to 4 minutes until stiff peaks form. Finally, mix in the food coloring (if adding) just until no white streaks are visible.
Gently fold in the almond flour mixture into the meringue.
Transfer the batter into a piping bag fitted with a plain tip. Pipe the batter onto a baking sheet lined with silicon mat or parchment paper and make about 1 inch cookie.
Let the macarons dry by letting it sit on the countertop at room temperature uncovered for about 30 minutes to 1 hour, depending on the weather/humidity.
While waiting for the macarons to dry up, start making the chocolate ganache filling by heating the dark chocolate and heavy cream in a double boiler (bain marie). Note: The water should just be simmering and should not touch the bottom of the bowl. Once everything's melted and incorporated, remove from heat and stir in the vanilla extract. Refrigerate for about 30 minutes just until it becomes spreadable then pipe or spread onto macaron cookies.
Once the macarons are dried up, bake at 300ºF for 28 to 30 minutes or until dry and crinkly feet have formed. Let it cool completely before removing from tray and adding filling. Once ready, pipe or spread the filling on the macaron cookie then sandwich with another.
| Prep Time | Total Time | Yield |
| 20 mins | 2 hours 15 mins | 3 dozens |
Ingredients
Macarons
- 3 large egg whites
- 1 cup almond flour
- 2 cups confectioner's sugar
- 3 tbsp + 1 tbsp (not needed if using extract) granulated sugar or caster sugar
- ⅛ tsp salt
- ¼ tsp red food coloring
Chocolate Ganache Filling
- 200g dark chocolate
- 200ml heavy cream or coconut milk
- 1 tsp vanilla extract
Instructions
- Place almond flour and confectioner's sugar in food processor and pulse until combined.
- Beat the egg whites and salt in stand mixer on medium speed until soft peaks form. Slowly add in the 3 tbsp sugar, 1 tbsp at a time in slow steady stream. Once the sugar has been added, switch the mixer speed to high and beat for about 3 to 4 minutes until stiff peaks form. Place food coloring then turn on mixer on low to incorporate. Fold in the confectioner sugar and almond meal mixture into the batter.
- Transfer the meringue to a piping bag fitted with a plain tip and pipe 1-inch cookies on baking sheets lined with silicon mat or parchment paper. Leave the macarons to dry for 30 minutes to 1 hour for the outer shell to develop, depending on weather/temperature.
- Prepare the chocolate ganache filling by melting chocolate and heavy cream in double boiler. Once melted, stir in vanilla extract and refrigerate for about 30 minutes or just until it becomes spreadable.
- Preheat oven to 300ºF. Once macarons are dry, bake for 28 to 30 minutes or until dry and crinkly feet have formed. Leave on baking sheet to cool completely.
- Once cool, pipe or spread the chocolate ganache onto the macaron cookie then top with another one. Enjoy!

0 comments